A few weeks back, I saw a great video from Maker’s Muse on YouTube, describing how to make custom 3×3 puzzles (eg. a Rubik’s cube) out of any 3 dimensional model. I’ve always been curious about how these puzzles work, so what better way to learn than to make my own?
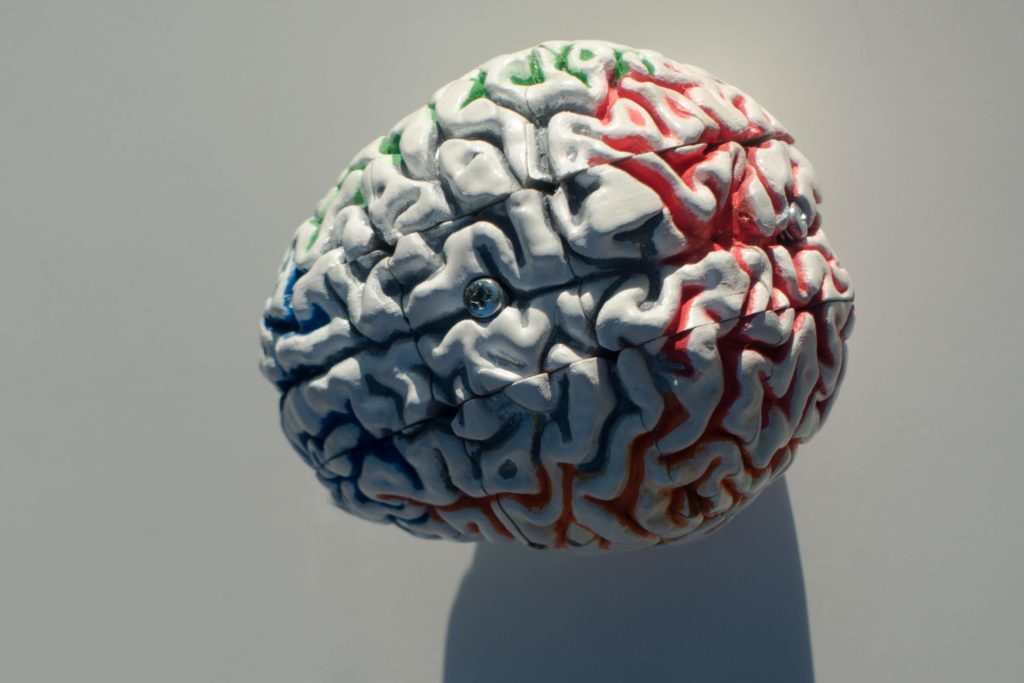
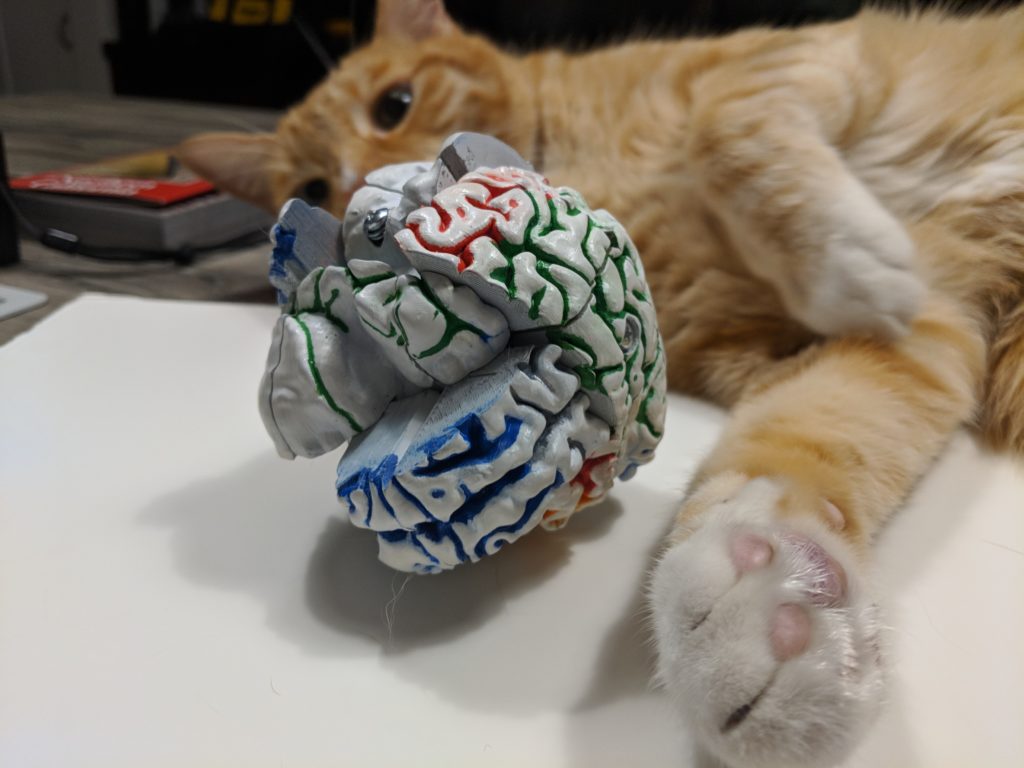
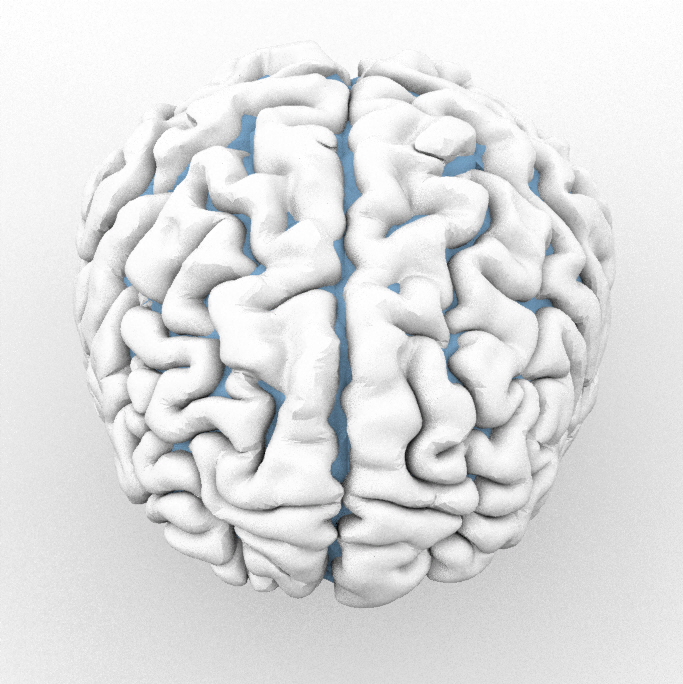
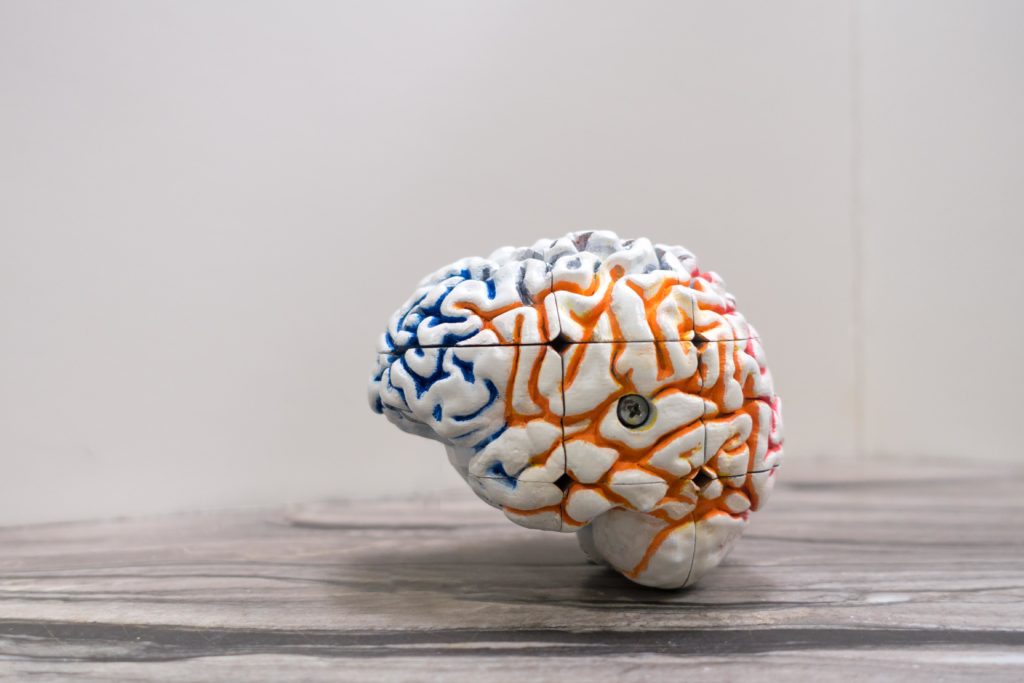
Yup. It’s a brain.
From brain scan to brain surgery
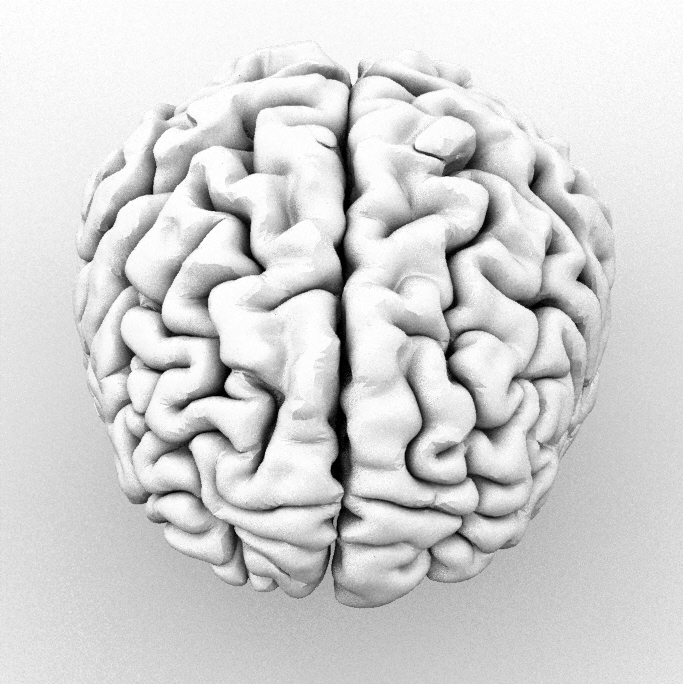
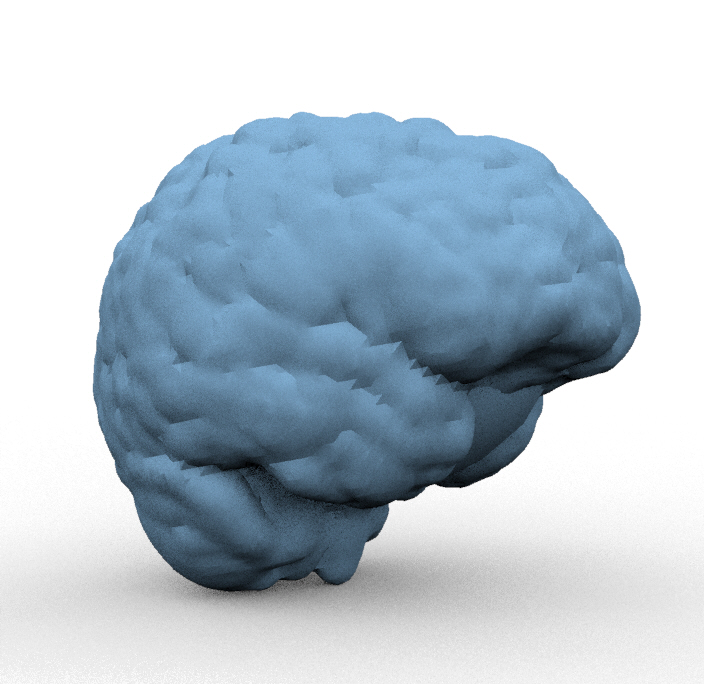
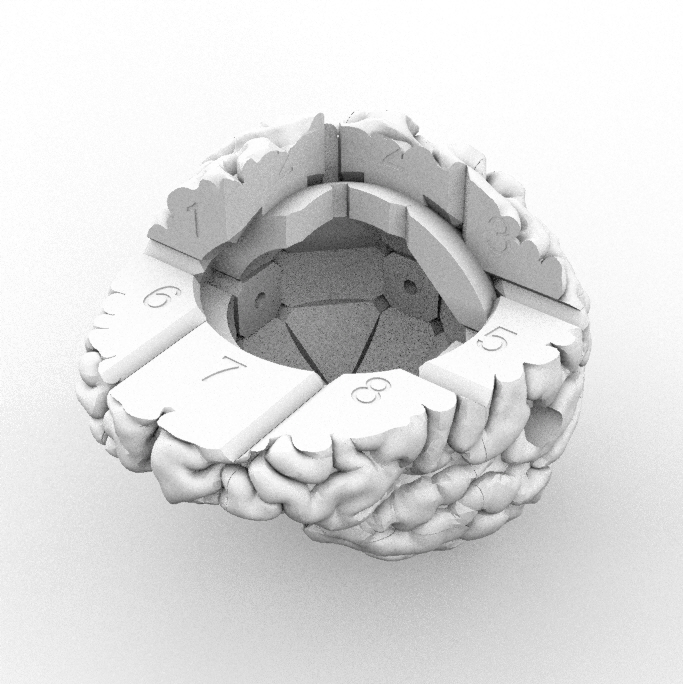
I started with this brain model from Thingiverse. These puzzles work best when there is good symmetry across X/Y/Z axes, so I scaled the model asymmetrically to improve its overall symmetry.
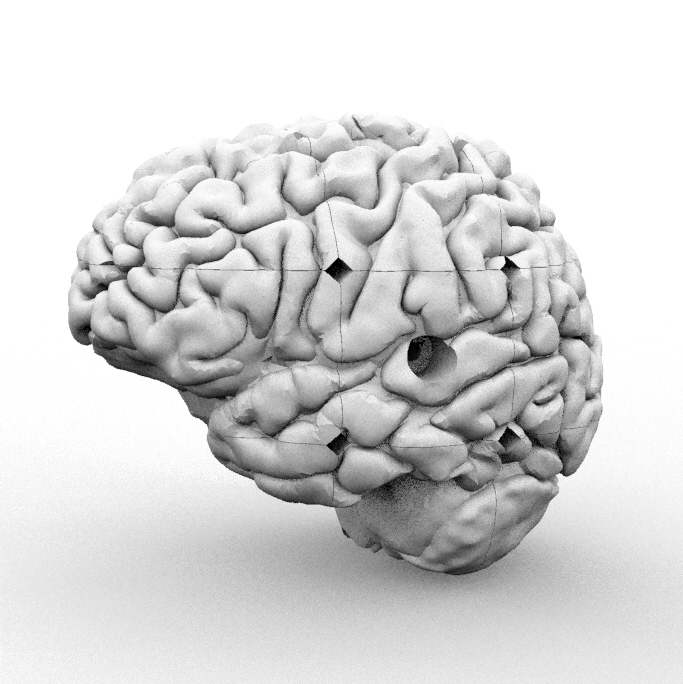
I had to create a solid “core” for the model, because there is a large gap between lobes and several deep folds that would have made it impossible to divide the model into contiguous puzzle pieces. To create this core, I used MeshLab to create a “bubble shell“.
Next, I took the union of the scaled model and core, then took the boolean difference with the 3×3 puzzle template from Maker’s Muse.
Models generated from 3d scans are often really messy and if they aren’t repaired, mesh operations fail. When I have problems with bad meshes, I often turn to Netfabb to repair the meshes and move on. It turned out that Netfabb’s “standard” repair operations weren’t good enough for this model. I had to use the full version for “extended” repair. I also used Netfabb for all of the boolean operations.
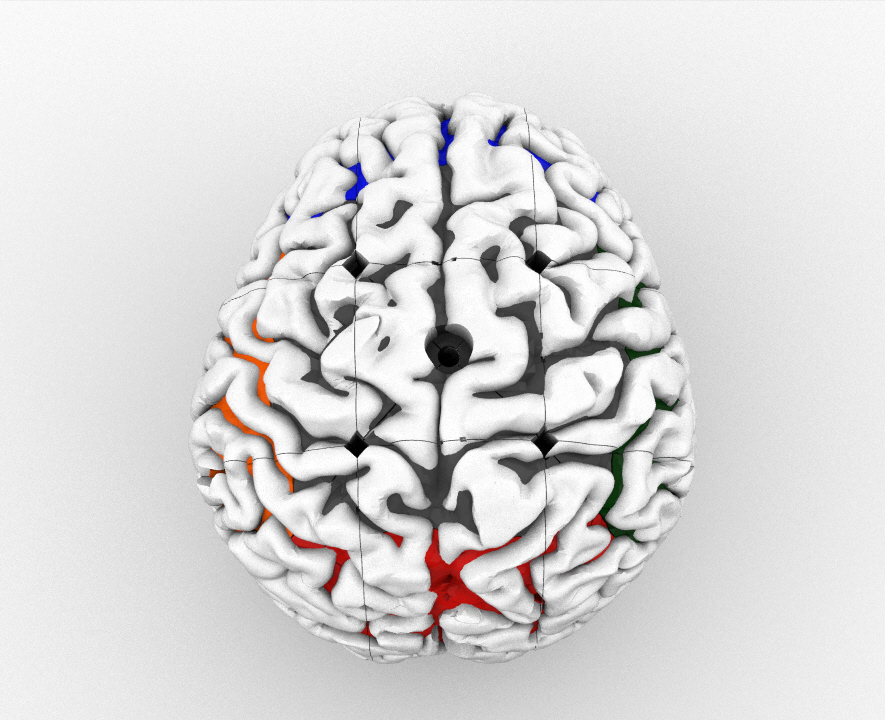
When the modelling was finished, I printed all of the parts on a Prusa i3 Mk3 (about 24 hours of print time for one puzzle). I then sanded and primed the unassembled parts. I assembled the puzzle with springs and M3 screws. Finally, I painted the interior of the folds on each “side” with acrylic paint.
Learnings
- It was great to get hands-on to really see how these puzzles work. It’s a very clever design. I really recommend this Maker’s Muse video to see more details on the mechanics.
- The movement on this puzzle is good (not great). It particularly helps to apply silicone lubricant periodically.
- This puzzle is a little harder than a 3×3 cube. Since there isn’t symmetry in the center pieces, their orientation matters.