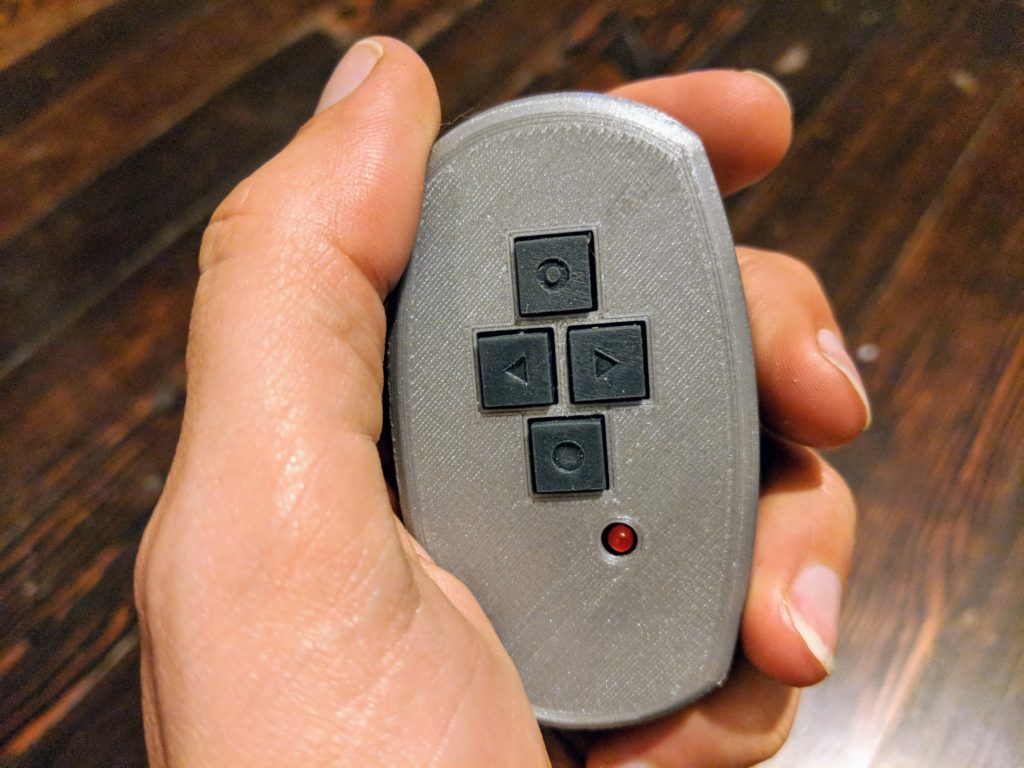
I mentioned in my Digital Gallery Wall post that it would be easy to build a remote control for Meural Canvases. Here it is:

This was super easy because each Meural Canvas is wifi-connected and has a tiny webserver. The commands are exposed through a REST interface. So if you know the local IP address of your Meural device, you can execute these commands from your web browser:
ON: /remote/control_command/resume
OFF: /remote/control_command/suspend
LEFT: /remote/control_command/set_key/left/
RIGHT: /remote/control_command/set_key/right/
Hardware
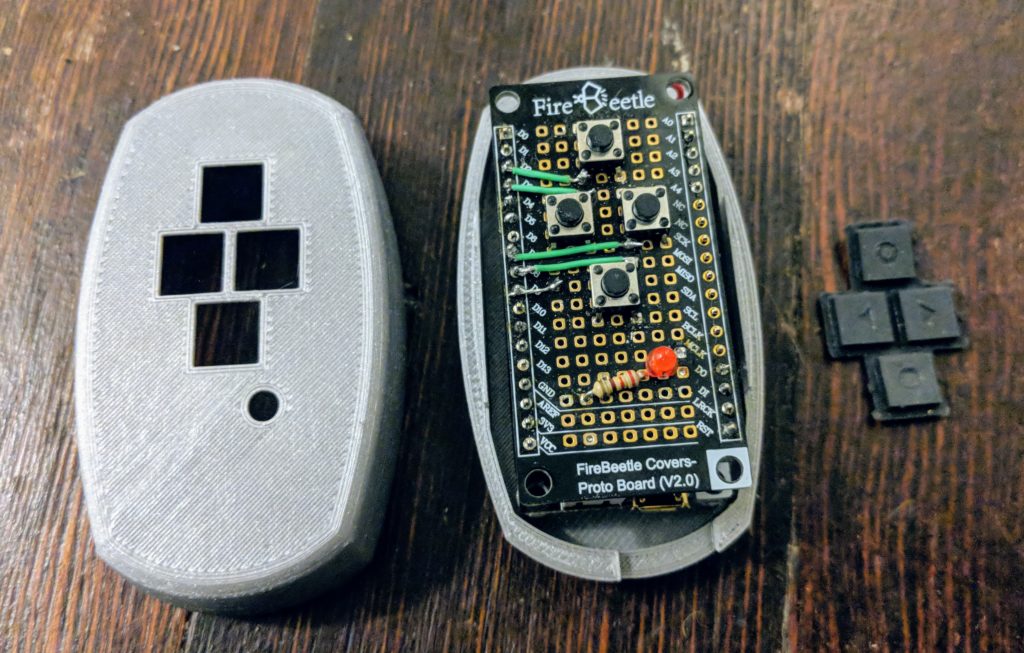
The remote is based on an ESP8266. These are versatile microcontrollers with onboard wifi. For this project, I knew I wanted battery power and that I wanted to recharge the battery via usb, so I wanted a board with a charge controller. I opted for this one from DFRobot (see below for an alternative suggestion).
Firmware
There are a lot of options for programming the ESP8266. For this project, I chose NodeMCU, a Lua-based firmware. I’ve used NodeMCU for a few projects. I have mixed feelings about Lua, but I really like having an interpreter when I’m debugging a new hardware project.
There’s great documentation for NodeMCU, so I won’t get into it in detail. But you will need to flash a custom NodeMCU build with the HTTP module. (I recommend letting NodeMCU Custom Builds create your build. Keep all of the default modules and add HTTP).
Circuit

The circuit is very simple. I built this on a prototype board designed to fit the ESP8266 board from DFRobot. There are 4 momentary switches (for each command: on, left, right, off). For each of these, one leg is connected to a GPIO pin. The other is connected to ground (the ESP8266 has built-in pull-ups). I also added a status LED to indicate when buttons are pressed and to blink when we’re waiting for WIFI connection.
Software
Thoughts and learnings:
- I didn’t give any consideration to power management for this project. The remote is always connected to wifi and draining >100mA/h. With a 800mAh LIPO battery, I’ve got less than 8 hours of charge. At the cost of some latency, the ESP8266 could be put to sleep and wake up / reconnect to wifi on button press.
- NodeMCU is not multi-threaded. When I want to send a command to all 6 Meural devices, I have to connect to each in sequence and wait for an OK after issuing a command. It takes about half a second for each device, so the sequence is very visible.
- Alternative hardware: One thing I don’t like about the DFRobot board is that the charge controller delivers 500mA and I can’t change it. For safety, this means the connected battery should be 500mAh or higher. The battery increased the size of my design quite a bit. Adafruit’s Feather Huzzah ESP8266 has a 100mA LIPO charger and may be a good alternative.
